
Axios
Axios 官方文档:https://axios-http.com/zh/docs/intro
CDN:<script src="https://cdn.jsdelivr.net/npm/axios/dist/axios.min.js"></script>
Json-Server
JSON-Server 是一个 Node 模块,运行 Express 服务器,你可以指定一个 json 文件作为 api 的数据源,详情戳Github。
Github:https://github.com/typicode/json-server
快速使用
安装
npm install -g json-server
创建
Create a db.json file with some data
1 | { |
开启
Start JSON Server
json-server --watch db.json
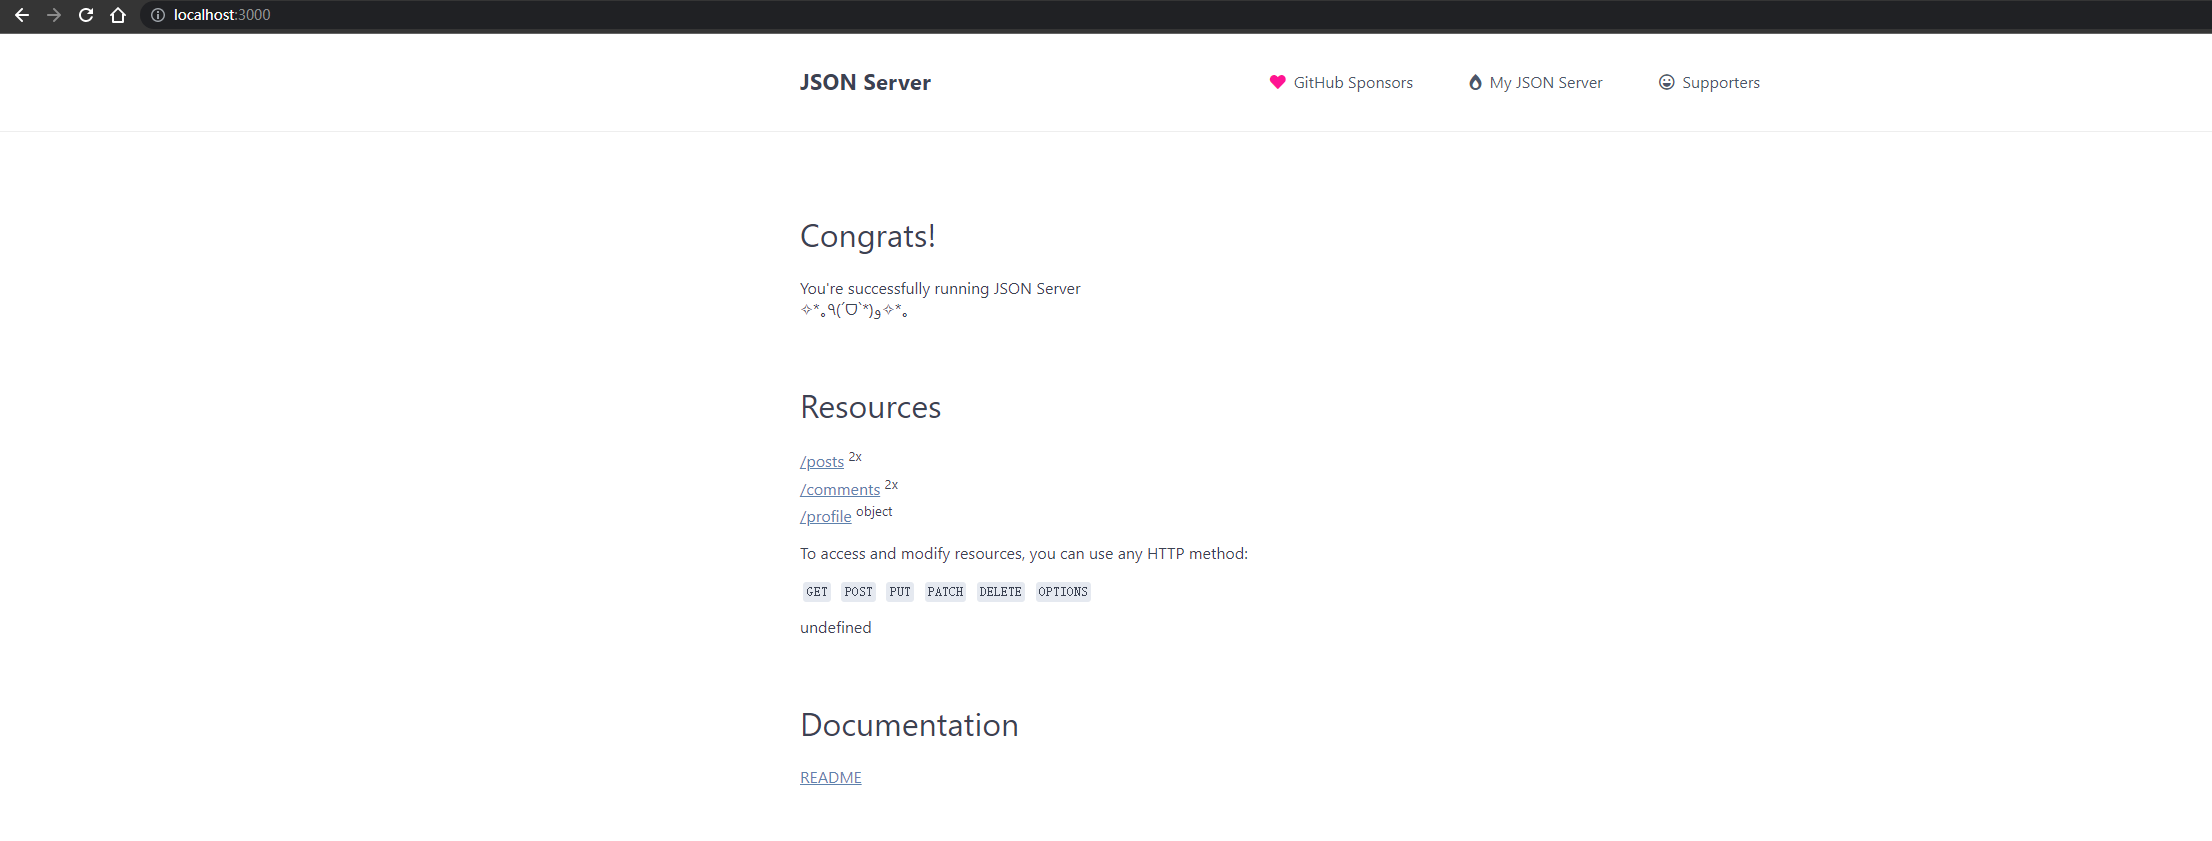
效果
通过:http://localhost:3000/ 地址访问
Axios 特性
- 基于 xhr + promise 的异步 ajax 请求库
- 浏览器端 /node 端都可以使用
- 支持请求/响应拦截器
- 支持请求取消
- 请求 / 响应数据转换
- 批量发送多个请求
Axios API
axios(config): 通用/最本质的发任意类型请求的方式- axios(url[, config]): 可以只指定 url 发 get 请求
- axios.request(config): 等同于 axios(config)
- axios.get(url[, config]): 发 get 请求
- axios.delete(url[, config]): 发 delete 请求
- axios.post(url[, data, config]): 发 post 请求
- axios.put(url[, data, config]): 发 put 请求
请求配置
这些是创建请求时可以用的配置选项。只有 url 是必需的。如果没有指定 method,请求将默认使用 GET 方法。
1 | { |
默认配置
可以指定默认配置,简化代码,它将作用于每个请求。
全局 axios 默认值
1 | axios.defaults.baseURL = 'https://api.example.com'; |
自定义实例默认值
1 | // 创建实例时配置默认值 |
配置的优先级
配置将会按优先级进行合并。它的顺序是:(后面的优先级要高于前面的)
- 在
lib/defaults.js中找到的库默认值 - 实例的
defaults属性 - 请求的
config参数
拦截器
拦截器分为请求拦截器和响应拦截器
请求拦截器:在发送请求之前,对请求的参数作一些处理和检测。
响应拦截器:在处理结果之前,可以对返回的数据作一些预处理。
添加拦截器
1 | // 添加请求拦截器 |
移除拦截器
1 | const myInterceptor = axios.interceptors.request.use(function () {/*...*/}); |
实例的拦截器
可以给自定义的 axios 实例添加拦截器。
1 | const instance = axios.create(); |
取消请求
AbortController
从 v0.22.0 开始,Axios 支持以 fetch API 方式—— AbortController 取消请求:
1 | const controller = new AbortController(); |
CancelToken【已弃用】
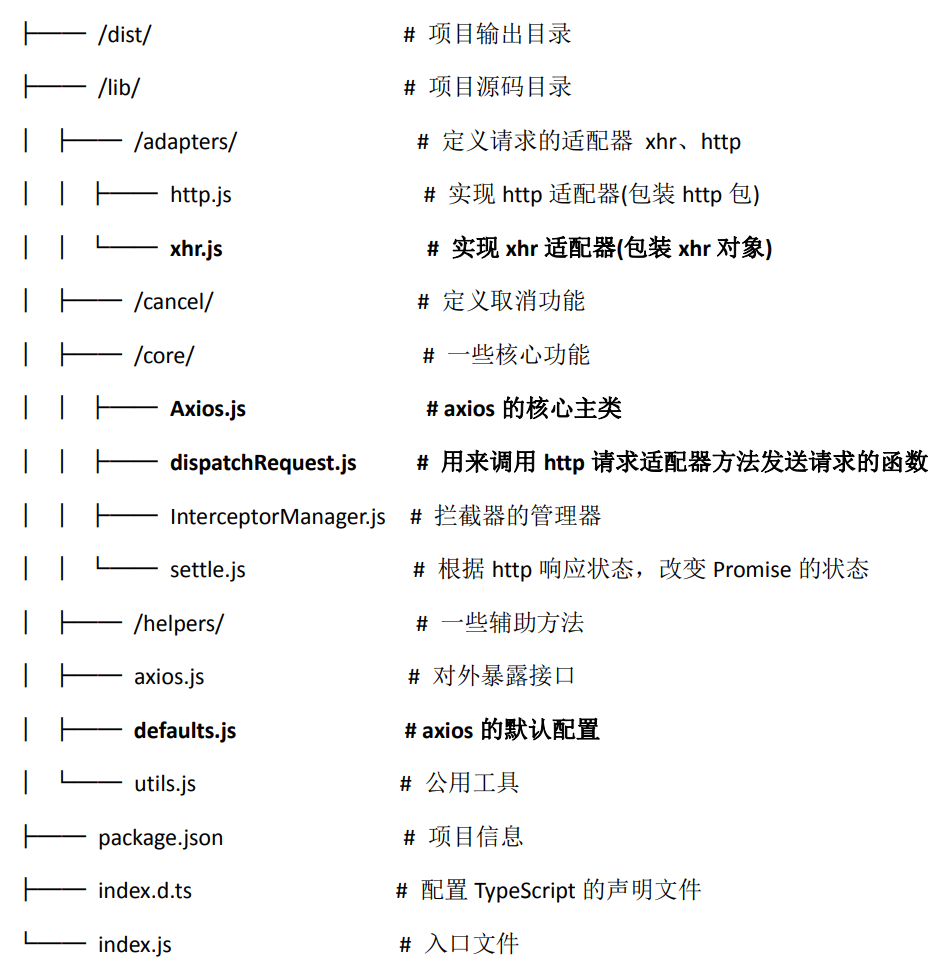
源码分析
源码目录结构
二次封装
针对项目大小的程度不同,对axios封装的需求也全然不同。
axios本身就是封装很不错的了,所以对于一般小项目而言完全没有二次封装的意义。
二次封装往往也会配合api的统一管理来进行使用。
尚品汇项目二次封装
主要是利用axios的
拦截器(请求拦截器和响应拦截器)进行封装:
- 项目中安装 axios
- 项目中新建
src/api/request.js文件 - 在 request.js 文件中编写:
1
2
3
4
5
6
7
8
9
10
11
12
13
14
15
16
17
18
19
20
21
22
23
24
25
26
27// src/api/request.js
import axios from 'axios';
// 1. 利用axios对象的方法create,去创建一个axios实例
const service = axios.create({
// 基础路径(发请求的时候,路径当中会出现api)
baseURL: '/api',
// 请求超时的时间 5S
timeout: 5000,
});
// 2. 请求拦截器:在发请求之前,请求拦截器可以检测到,可以在请求发出去之前做一些事情
service.interceptors.request.use(config => {
return config;
})
// 3. 响应拦截器:所有的请求在响应之后都会走这个
service.interceptors.response.use(
// 成功的回调函数:服务器相应数据回来以后,响应拦截器可以检测到,可以做一些事情
(res) => {
return res.data;
}, (err) => {
//响应失败的回调函数
return Promise.reject(new Error('faile'));
})
export default service; - API 统一管理
- 项目中新建
src/api/index.js文件,并导入二次封装好的 axios - 基于二次封装好的 axios 发送请求:
1
2
3
4
5
6
7
8
9
10// src/api/index.js
import service from './request'
// getBaseCategoryList
export const getBaseCategoryList = () => {
return service({
url: "/product/getBaseCategoryList",
method: "get"
})
}
- 项目中新建
- 解决跨域问题(devServer)
项目根目录新建vue.config.js文件 :1
2
3
4
5
6
7
8
9
10
11
12
13
14
15module.exports = {
// 配置此项,打包时不生成 map 文件
productionSourceMap: false,
lintOnSave: false,
devServer: {
proxy: {
'/api': {
target: 'http://gmall-h5-api.atguigu.cn', // 代理目标的基础路径
// pathRewrite: {
// '^/api': ''
// }
}
}
}
}